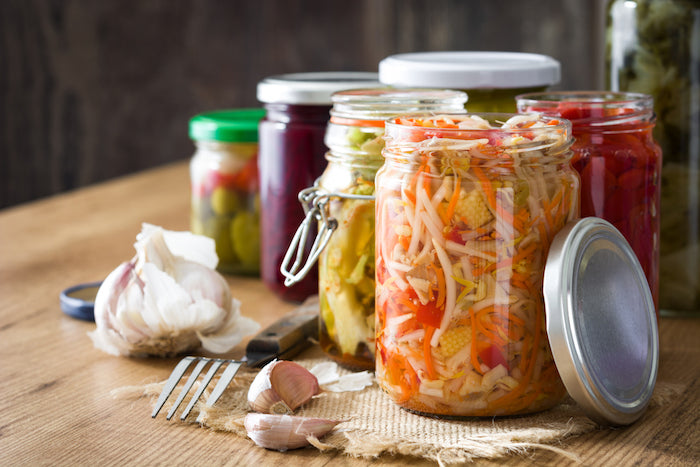
Feed your gut: Mason Jar Cultured Veggies

|Killeen McGowan| January 2019 |
In addition to taking a probiotics supplement, I know that fermented foods are one of the best choices I can make when it comes to promoting my probiotics.* The problem is, a jar of kimchi in my house is just destined to wiggle its way to the back of the fridge and be forgotten. Given fermented foods -when stored properly- can actually improve with age, this is perhaps one of the few times that’s okay. But in truth, I certainly don’t need another jar occupying prime refrigerator real estate, and I bet you don’t either.
That’s why I was delighted when a good friend shared her cultured veggie secrets with me.
What are “cultured veggies?” You already know about sauerkraut, and you’ve probably tried its Korean cousin, Kimchi; these are indeed veggies that have been processed using live cultures. Yet when it comes to making your own, probiotic-rich, fermented food, there’s a whole world out there beyond cabbage. The cultured veggie recipe I’m here to share is customizable to your palate, and allows you to use what’s in season or on-hand.
Cultured Veggies 101:
Your key to success is variety, uniformity, and thoughtful ratios. Aim for in-season, organic produce, and set out to make a large batch- because it keeps, after all! This is a perfect way to support your local farming community and use those end-of-season CSA veggies. Here’s what you do, in six steps:
1) Pick a few selections from each category, and aim for the following 3-2-1 ratio of each:
- (3 parts) “Bulky” vegetables, like squash, bok choy, napa cabbage
- (2 parts) Roots, like carrot, daikon, turnip, rutabaga, and beet
- (1 part) Rough, hearty greens, like kale, collards, even your beet tops
2) Grate/shred all ingredients to uniform size in a clean bowl that can withstand pounding.
3) To taste, add:
- fresh garlic, minced
- fresh ginger, minced
- fresh mild-to-hot pepper, depending on your heat tolerance, minced
- Sea salt, himalayan salt, OR kosher salt (Iodized salt inhibits fermentation.)
The flavor of your fresh veggie mixture will intensify as it ferments. Keep this in mind as you taste test (and be sure to use a clean spoon for each sampling so as not to add any unwanted bacteria to the bowl). I’m a huge fan of garlic, ginger AND the hot stuff… but I want to be able to taste all the incredible flavors in my mix, so I start small with the peppers to prevent that overpowering heat. Experiment!
4) Using a pestle or a wooden spoon, repetitively pound your veggies to draw out all their water, until completely macerated and “soaked through.” This will take a long time, and can be done in stages if your bowl can’t hold everything at once. (I also highly recommend splitting the work, and the yummy results, by making cultured veggies with a friend!)
5) Mix in a few tablespoons of live-culture containing whey. It can be purchased at a health food store or obtained from your local dairy farm. (I got myself some fresh goat’s milk whey, which lasted for months.)
6) Pack your jar(s) as you would with any diy fermented recipe. First time? Our MegaBlogger partner, Beth Manos Brickey of Tasty Yummies, has a great sauerkraut recipe video with a jar-packing tutorial that will show you just what to do, and how to know when your customized, cultured veggies are ready to be enjoyed.
Looking for more ideas to eat your way to better digestive health?
Continue your journey to greater gut health here.*


